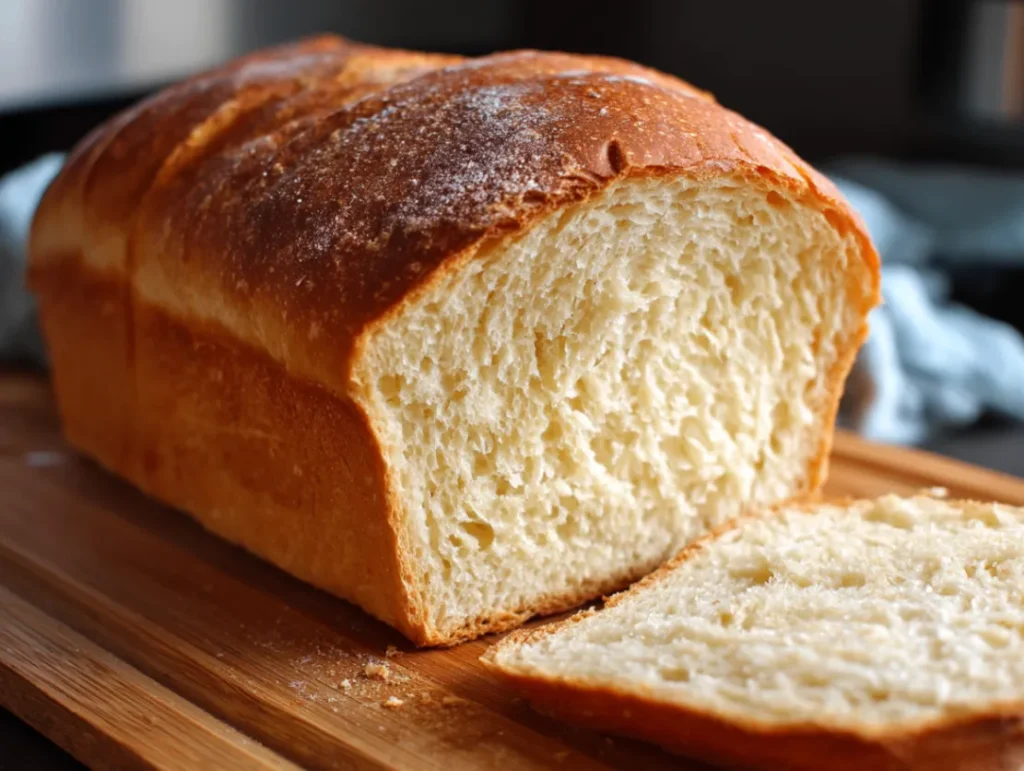
There’s nothing quite like the smell of homemade sandwich bread filling your kitchen. After years of disappointing loaves that were either too dense, too crumbly, or just plain flavorless, I’ve finally mastered the art of creating the perfect sandwich bread at home. The kind with a soft, tender crumb that holds up to slicing yet remains pillowy and light. This recipe transformed my family’s sandwich game completely, elevating simple lunches to something we actually look forward to. Trust me, once you master these techniques, you’ll never look at store-bought bread the same way again.
Thank you for reading this post, don't forget to subscribe!
Why You’ll Love This Recipe
You’re going to fall in love with this homemade sandwich bread recipe for so many reasons:
- Incredibly soft texture that stays fresh for days
- Simple ingredients you already have in your pantry
- Versatile enough for everything from PB&J to fancy grilled cheese
- Perfect for beginners – no specialty equipment required
I’ve made this bread weekly for the past three years, and it’s become our family’s gold standard. Furthermore, guests always ask for the recipe when they try it!
Pure Comfort
There’s something deeply satisfying about slicing into a loaf of bread you’ve made with your own hands. This homemade sandwich bread recipe connects me to simpler times, reminding me of my grandmother’s kitchen where fresh bread was a staple, not a luxury.
It’s perfect for cozy weekend mornings with a smear of butter and jam, or packed lunches that need to hold up until noon. Meanwhile, the process itself the kneading, the rising, the heavenly aroma brings a sense of calm to even the busiest day.
Ingredients You’ll Need
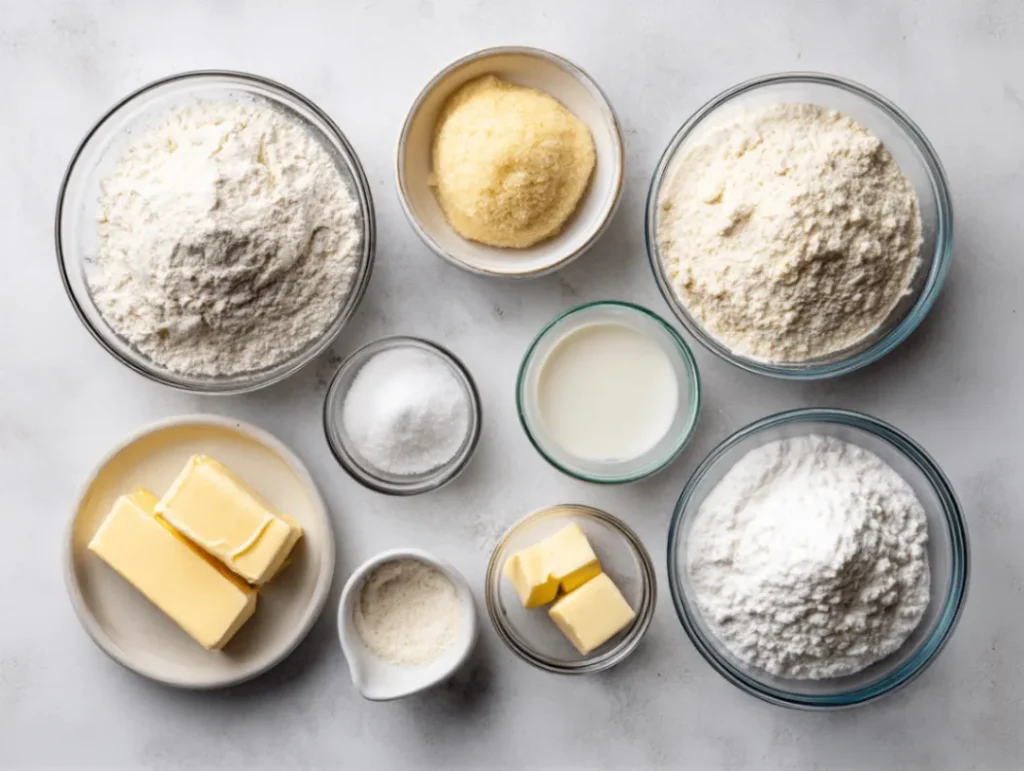
Before getting started, gather these simple ingredients for your homemade sandwich bread. In addition to being pantry staples, these ingredients work together to create the perfect texture:
- 4 cups all-purpose flour (plus extra for kneading)
- 2¼ teaspoons active dry yeast (one standard packet)
- 2 tablespoons sugar
- 1½ teaspoons salt
- 2 tablespoons unsalted butter, softened
- 1½ cups warm milk (about 110°F)
- 1 tablespoon neutral oil for the bowl
Don’t have milk on hand? Water works too, though the bread won’t be quite as tender. For those avoiding dairy, plant-based milk and butter substitutes yield great results with minor texture differences.

Step-by-Step Instructions
Preparation
- Begin by activating your yeast in a small bowl with ¼ cup of the warm milk and a pinch of the sugar. Let it sit for about 5-10 minutes until foamy.
- Meanwhile, in a large mixing bowl, whisk together the flour, remaining sugar, and salt.
- Create a well in the center of the dry ingredients for the wet ingredients.
- Once the yeast is frothy and active, pour it along with the remaining warm milk into the well.
Cooking Method
- First, stir everything together with a wooden spoon until a shaggy dough forms.
- Next, add the softened butter and incorporate it into the dough.
- Turn the homemade sandwich bread dough onto a lightly floured surface and begin kneading.
- Knead for 8-10 minutes until smooth and elastic. The dough should pass the “window pane test” – when stretched thin, it should be translucent without tearing.
- Form the dough into a ball and place in an oiled bowl, turning once to coat.
- Cover with a clean kitchen towel and let rise in a warm place for 1-1.5 hours, or until doubled in size.
- After the first rise, punch down the dough gently to release air bubbles.
- Shape the dough into a loaf by patting it into a rectangle, then rolling it tightly from one short end.
- Place the shaped loaf seam-side down in a greased 9×5 inch loaf pan.
- Cover again and let rise for 45-60 minutes, until the dough has risen about 1 inch above the rim of the pan.
- Preheat your oven to 350°F during the final 20 minutes of rising.
- Bake for 30-35 minutes until golden brown and the bread sounds hollow when tapped on the bottom.
How to Know When It’s Done
The bread is perfectly baked when it reaches an internal temperature of 190°F. If you don’t have a thermometer, look for an evenly golden crust and a hollow sound when you tap the bottom of the loaf. The sides of the bread should also pull away slightly from the pan.
Finishing Touches
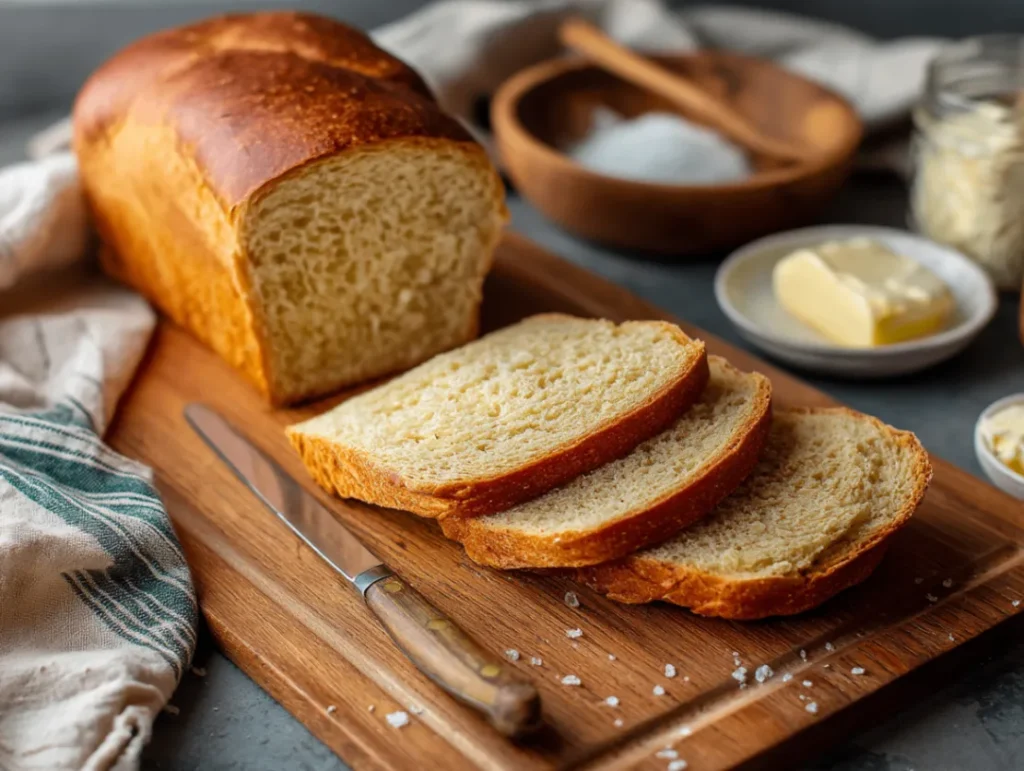
Once baked, immediately remove the bread from the pan and cool on a wire rack. For an extra soft crust, brush the top with melted butter while still hot. Finally, allow the bread to cool completely before slicing to prevent it from becoming gummy.
Tips for Perfect Results
- Always use room temperature butter cold butter won’t incorporate properly into the dough
- Don’t add all the flour at once hold back ½ cup and add only if the dough is too sticky during kneading
- Kneading properly is crucial for developing the gluten that gives homemade sandwich bread its structure
Variations to Try
- Add ¼ cup of honey instead of sugar for a naturally sweeter honey wheat bread
- Mix in ⅓ cup of rolled oats and substitute 1 cup of whole wheat flour for a heartier texture

FAQ
Can I make this homemade sandwich bread ahead of time?
Absolutely! You can prepare the dough and let it rise in the refrigerator overnight. Furthermore, this slow rise actually develops more flavor. Just bring it to room temperature before shaping and baking.
How do I store leftovers and for how long?
Store your bread in a bread box or paper bag at room temperature for up to 3 days. For longer storage, slice the cooled bread and freeze in a freezer-safe bag for up to 3 months.
Can I freeze this dish?
Yes! This bread freezes beautifully. You can freeze it as a whole loaf or pre-slice it for convenience. Thaw slices at room temperature or toast straight from frozen.
What substitutions work for all-purpose flour?
Bread flour (for a chewier texture)
Up to half whole wheat flour (will need slightly more liquid)
Gluten-free flour blend with xanthan gum (texture will be different)
Is this recipe suitable for bread machines?
Yes, this recipe adapts well to bread machines. Add the ingredients in the order recommended by your machine’s manufacturer, typically liquids first, then dry ingredients, with yeast last.
Time to Get Cooking!
Now that you know all the secrets to making perfect homemade sandwich bread, it’s time to roll up your sleeves and get baking! Consequently, you’ll save money, avoid preservatives, and fill your home with the irresistible aroma of fresh bread. Best of all, you’ll have the satisfaction of creating something truly delicious from simple ingredients.
If you enjoy this recipe, check out my Easy Overnight Rolls or Beginner’s Sourdough Starter guides for more bread-baking adventures!
